

|
|
|
Creating Special Day Classes requires either OPER or SYSPRV privileges.
You can create a Special Day Class by choosing Create... from the Day Classes menu. This action displays the Special Days Calendar dialog; you select the days that you want to make up the class by clicking them in the calendar. The shaded days on the calendar define the Special Day Class.
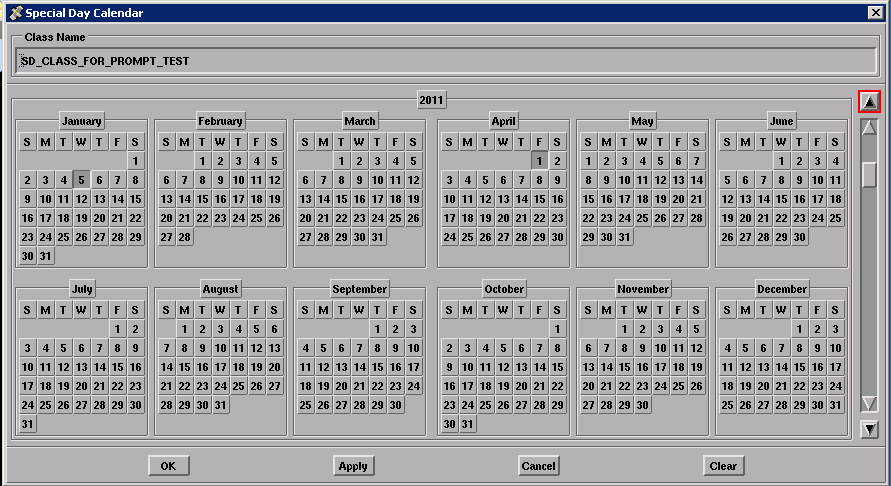
You can switch the entire year, complete months, or individual days by clicking MB1 on them. You can switch all monthly occurrences of a day by clicking its symbol. For example, to select all Wednesdays in May, click on the W under May on the Calendar screen.
Select any year from 2010 through 2019 by clicking up or down on the scroll bar to the right of the calendar. You can scroll to the next decade by dragging the scroll bar to the bottom (2019) and then clicking MB1 on the stepping arrow beneath the scroll bar. You can scroll to the previous decade by dragging the scroll bar to the top (2010) and then clicking MB1 on the stepping arrow above the scroll bar. You can use the scroll bar and arrows to navigate through the years 1970-2037.
To create Special Day Classes with the Motif interface:
The Job Management Manager Calendar is displayed.
The selected days are shaded.
The Special Days Class is created.
| Copyright © 2012 CA. All rights reserved. | Tell Technical Publications how we can improve this information |