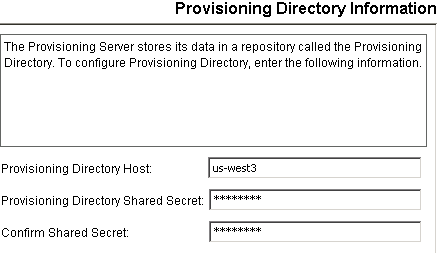
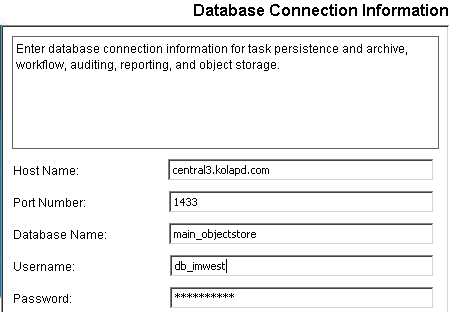
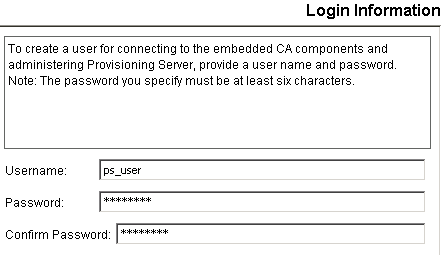
Before deploying Identity Manager to the cluster, deploy it in a cluster domain in the Administration Server to verify that it installs correctly. The cluster domain serves as a staging area where you can test Identity Manager and then deploy it to other nodes in the cluster.
When you supply a cluster name during the installation, these primary resources will be configured:
During the installation, the EAR files (iam_im.ear and ca-stylesr5.1.1.ear) are installed to the cluster domain at the following root:
WL_HOME\user_projects\domains\weblogic_domain\applications
Once the managed node server is started, the EAR files are pushed to this location on the managed nodes:
WL_HOME\common\nodemanager\servers\server-name\stage
Note: Make sure that you have the required information for installer screens, such as host names and passwords. If any issues occur during installation, check the installation logs.
To install Identity Manager on the WebLogic Admin Server
Include IP addresses and hostnames of any remote system that you plan to include during the installation.
ca-im-release-win32.exe
ca-im-release-sol.bin
release represents the current release of CA Identity Manager.

The location of the application server home directory.
The name of the WebLogic domain you created for Identity Manager.
The name of the WebLogic server on which the domain is configured.
The name of the cluster.
Supply the URL and the port number for the web server used for load balancing.


| Copyright © 2011 CA. All rights reserved. | Email CA Technologies about this topic |