You can insert third-party controls in a window or a dialog from the Navigation Diagram in the Toolset.
- Click Edit, ASP.NET Control Manager in the Toolset.
The Third-Party .NET Control Manager dialog opens.
- Click Add on the Third-Party .NET Control Manager.
The Select an Assembly to Add Controls From dialog opens.
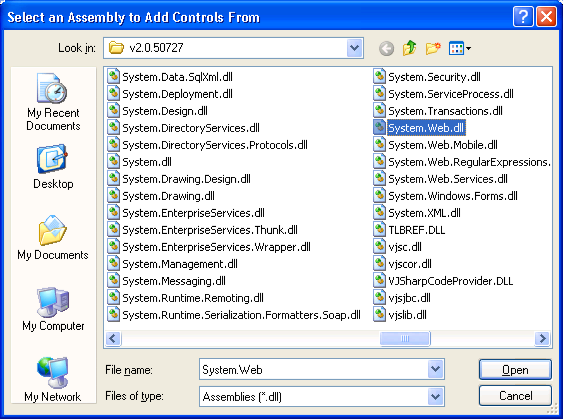
- Select the required assembly, and click Open.
The Web Controls in Assembly dialog opens.
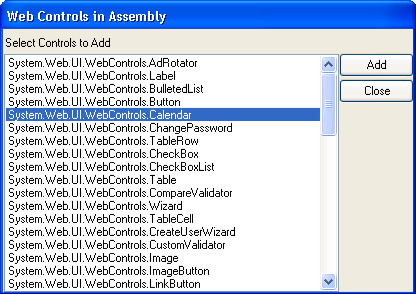
- Select the required controls in the Web Controls in Assembly dialog, and click Add.
The selected controls appear in the Third-Party .NET Control Manager dialog, and the Web Controls in Assembly dialog closes.
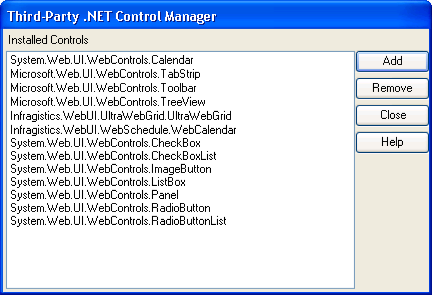
- (Optional) To delete a control, select the required control, and click Remove on the Third-Party .NET Control Manager dialog. A confirmation dialog appears.
- Repeat Steps 2 to 5 to add all the required controls from different assemblies.
- Click Close on the Third-Party .NET Control Manager dialog.
The Third-Party .NET Control Manager dialog closes and returns to the window or the dialog that you were designing in the Navigation diagram.
- Select Edit, Control Design from the Toolset to insert the required third-party control in the window or dialog.
The selected third-party controls appear in the Toolbox.
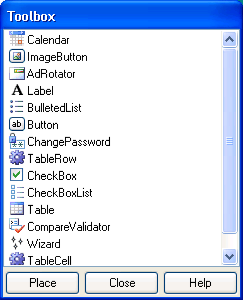
- Select the required control in the Toolbox, and click Place to position the third-party control on the current window, or dialog
- Select the required control, and click Detail, Properties to modify the properties of the control.
- The Web Control Properties dialog appears.
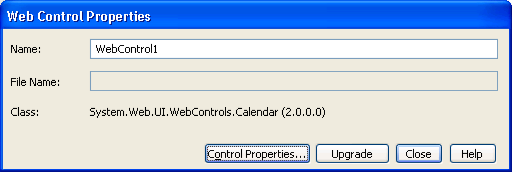
- Select Control Properties on the Web Control Properties dialog.
The Properties dialog appears for the control.
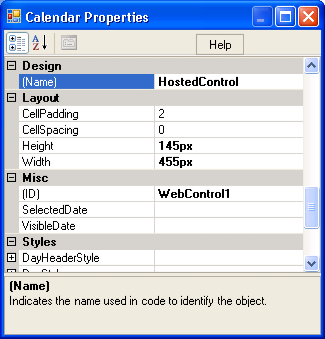
- Specify the required modifications for the control in the Properties dialog, and close the dialog.
The modified properties apply for the inserted third-party control at design time, and at runtime.

