

Now that you have selected all of the fields to be printed on the report, it is time to specify the field(s) you want to sort on. The sort field selection process resembles the report field selection process. From this panel you will select, one at a time, the fields that are to be used for sorting. As you make each selection, you will be taken to panel DMS044H, which allows you to specify the details of the sort. The following illustration is a sample Select Sort Fields:
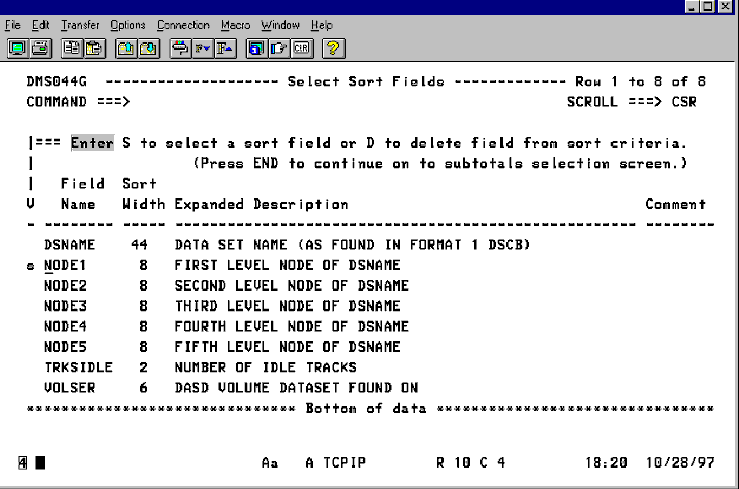
You will notice this field list is much shorter than the one presented for the field selection process. This was done intentionally so that you won't have to page through a lot of unnecessary fields. There are a few fields that CA Disk always displays on this screen, such as the nodes (index levels) of data set names. The only other fields that are displayed are those that were selected for the report. It's probably a safe assumption that if the field is not desired on the report, there isn't much reason to sort on it either.
The commands for this panel are identical to the report field selection panel, so we will just review them at this point. There are two line commands that can be used:
Note: The fields shown in the previous examples with < >should be entered without the brackets.
When you have finished selecting all of your sort fields press the <ENTER> key. This will take you to the subtotal selection screen where you can define the numeric fields that can be subtotaled.
|
Copyright © 2015 CA Technologies.
All rights reserved.
|
|