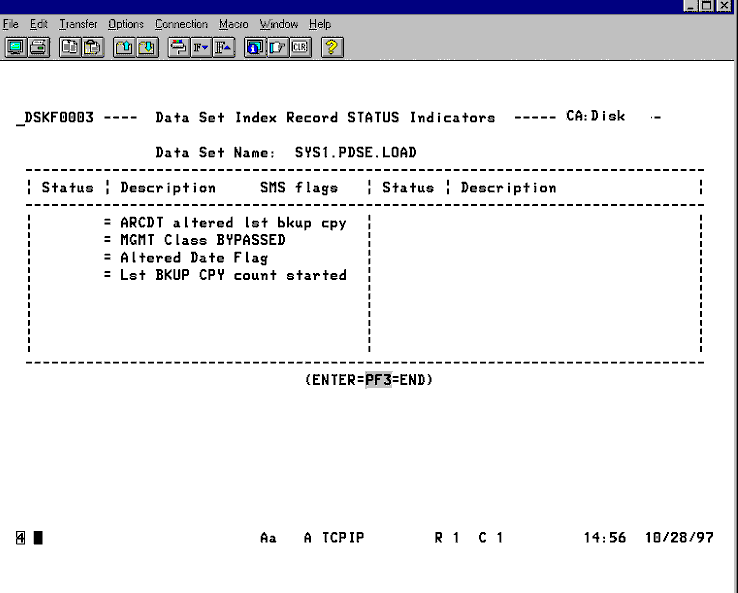
ISPF › ISPF Panel Examples › DSNINDEX Flag Field Status Indicators — Panel 3
The following illustration is a sample DSNINDEX Flag Field Status Indicators – Panel 3: