

Platform Deployment Guide › iConsole Deployment › Post-deployment Tasks › Configure Audit Emails › Set Up SMTP Email › Enable the SMTP Service
Enable the SMTP Service
The SMTP Service allows the local machine to deliver SMTP emails. Typically, the front-end Web server points to an existing, remote SMTP server, but if required you can enable the SMTP service locally.
- On the host machine for the front-end Web server, ensure that you are logged on with local administrator rights.
- Open the Windows Components Wizard. This is available from the Add or Remove Programs applet.
- Select Internet Information Services (IIS) and click Details to display the IIS subcomponents.
- Select the SMTP Service subcomponent and click OK to return to the Windows Components Wizard. This service supports the transfer of emails.
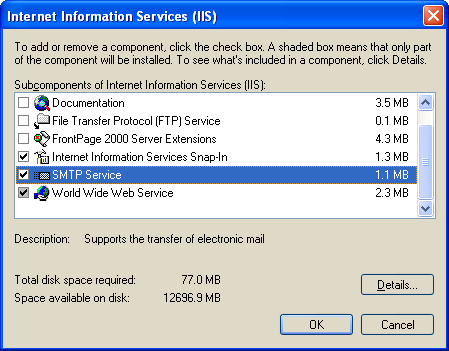
Windows Components Wizard: IIS subcomponents
- Click Next to build the new configuration settings, then click Finish to close the wizard.
Copyright © 2015 CA Technologies.
All rights reserved.
|
|