

The NRI Elective Inventory web page is immediately accessible to all users who have access to the hosting web server.
Important! The received inventory folder and the Asset Collector folders must be fully accessible by the Internet Guest Account, which must be set up manually by the user. See the Configuring the NRI Web Service section to better understand which folders to modify.
To navigate to the NRI web page, enter the following URL in a supported web-browser. For more information about supported web browsers, see Certification Matrix
http://webserver-hostname/wac/jsp/ei/ei.jsp
The NRI web page is based on the Client Automation WAC system and offers a simple view of the defined inventory levels or packages, as shown in the following illustration:
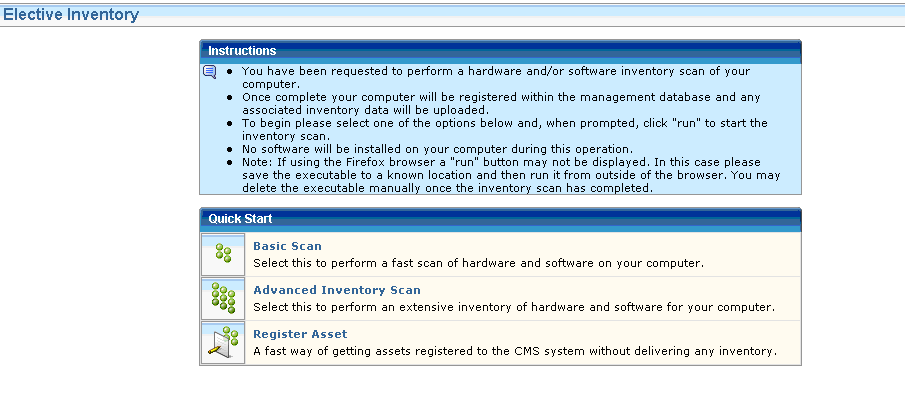
To start the inventory, select one of the offered packages from the Quick Start portlet by simply clicking the image or the link. (See NRI Agent Packages for more information about what each package collects and does.)
Each link points to a named version of the NRI Primer executable. When the web browser asks if you want to “run” or “save” the file, select Run. The NRI Primer is downloaded and executed.
The following illustration shows the progress of the inventory scan request:
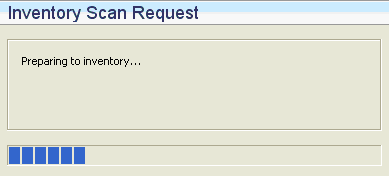
The time used to download the necessary detection modules and perform the actual inventory depends on the current load of the NRI hosting web server. For the Advanced Inventory Scan option especially, the number of files on the installed hard-drives can affect the time.
The scan can take anything from one (1) minute to more than 30 minutes to complete. The scan process will utilize a significant part of the computer's resources but can be used normally throughout the scan.
A message dialog declares when the scan is done.
You cannot launch NRI on Linux or UNIX from the NRI website. NRI on these operating environments is designed to run with minimum requirements. The distribution of the NRI agent and analysis of the collected result is done manually.
To launch NRI from a Linux or UNIX computer
<dvd_root>/ProductFiles_x86/nriagent/nriagent.tar
Note: The nriagent.tar file is located under the platform specific folder. You can also copy it to any shared location and launch the NRI.
tar -xf nriagent.tar
The files are extracted to the folder nriagent.
./cmnriagent -script register.ini
An inventory file is created to register the computer.
To perform a basic hardware inventory and heuristic software scan, run the script:
./cmnriagent -script basic.ini
To perform a full hardware inventory and software signature scan, run the script:
./cmnriagent -script adv.ini
Note: To use additional inventory modules, create a customized .ini file and copy it to the nriagent folder.
The inventory starts and an inventory report is created in the nriagent folder and is named after the generated host UUID on the computer, for example, 12FDBEBA-572D-4408-BFC8-E7922AD4A998.xiu.
The Asset Collector detects the new inventory file and extracts the asset inventory information.
|
Copyright © 2014 CA Technologies.
All rights reserved.
|
|