- From the Main Menu, click Reports, Reports Folder.
The Reports Folder page opens.
- Click the Find button to display the Find fields.
- Click Add New and select Report Group.
The Report Group Properties page opens.
- In Name, enter a name for the Report-Group report.
Note: Use descriptive names for Report-Group reports, so that they can be easily identified in the Reports list.
- In Description, enter a description for the Report-Group report.
- In Owner, select the owner of the Report-Group report from the drop-down list. The owner of a Report-Group report can view the report in the list of saved reports and modify it, if required.
Note: This drop-down list is disabled when creating a new Report-Group report starting from the My Reports folder
- In Permitted users, select the user who is permitted to view the Report-Group report from the Available list and click the arrow, or double-click the user.
The user moves to the Included list.
- In Folder, select the folder to which you want to add the Report-Group report from the drop-down list.
- In Reports, click Add to select the reports that comprise the group.
The Find Target Report window opens.
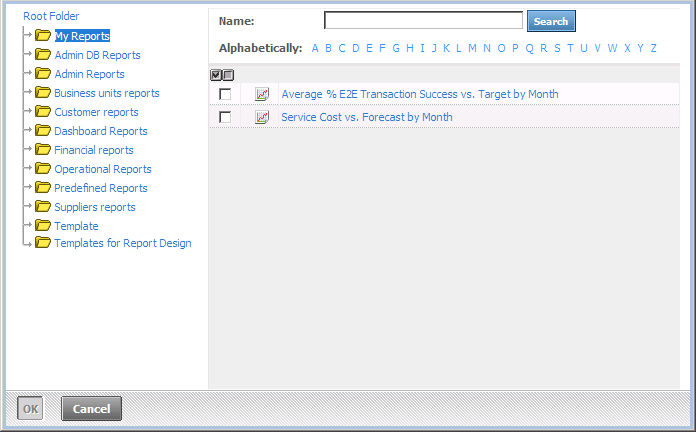
- Click on a folder and select the reports to be included in the Report-Group report by checking their check boxes.
Tip: Click  to select all reports in the folder or
  to clear all check boxes.
- Click OK. The reports are added and shown in the Reports list box.
- Arrange the order of the reports in the list by selecting a report and clicking the arrows. The order of reports in this list determines the order in which the reports are displayed (from left to right, or from top to bottom).
Note: You can remove a report from the Reports list box by selecting it and clicking Remove.
- In PDF Parameters, define the page setup parameters for when the report is to be exported to PDF.
- In Related reports, click Add. The Find Target Report window opens.
- Click on a folder and select the related reports to include in the Report-Group report.
Tip: Click to select all reports in the folder or to clear all check boxes.
- Click OK. The reports are added and shown in the Related reports list box.
- Arrange the order of the fields in the list by selecting a related report and clicking the arrows. The order of related reports in this list determines the order in which the reports are displayed (from left to right, or from top to bottom).
Note: You can remove a related report from the Related reports list box by selecting it and clicking Remove.
- In Display in, enter the number of columns in which to display the reports.
- In Scheduling, click Edit to schedule the Report-Group report.
The Scheduling window opens. For more information, see Scheduling a Report-Group.
- Click Save to save the Report-Group report and return to the Reports Folder page.
- Click Cancel to stop the process and return to the Reports Folder page.

