Previous Topic: Review the PrerequisitesNext Topic: Verify Installation


Install CA EEM

Perform the following steps to install CA EEM.

Note: As you step through these installation instructions, refer to the Installation Worksheet to find server names, file paths, login credentials, and port values. Use the given default values or note your changes on the worksheet.

Follow these steps:

  1. Log in to the CA EEM server as an administrator.

    Note: The CA EEM installer (r12.5 CR1) is available on the CA Support Online.

  2. Extract the media to a folder on the target CA EEM server.
  3. Execute EEMServer_12.51.1.8_win64.exe.

    The Installation Wizard for CA EEM opens.

  4. Click Next.

    The License Agreement page opens.

  5. Slide the scroll bar to the bottom of the page, select I accept the terms in the license agreements, and click Next.

    The Destination Folder page opens.

    This graphic is a screenshot of the Destination Folder page.

  6. Verify the installation location, or click Choose to change the location.
  7. Click Next.

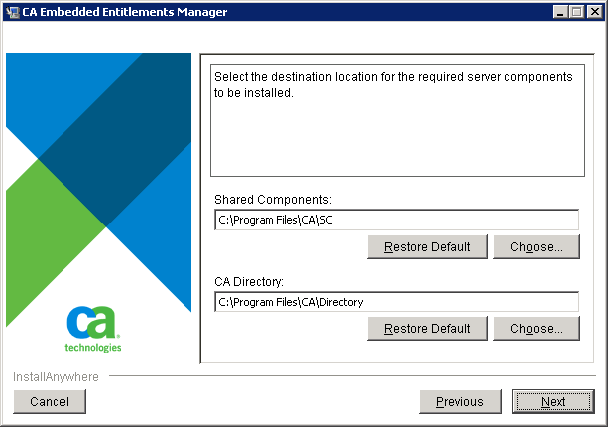
    The CA Directory Information page opens.

    This graphic is a screenshot of the Database Information page.

  8. Accept the database information and click Next.

    The CA EEM Password page opens.

  9. Type Password, Confirm Password for EiamAdmin, and click Next.

    Note: Record the EiamAdmin password in Installation Worksheet.

    The FIPS security page opens.

    This graphic is a screenshot of the FIPS Security page.

  10. Ensure that the Enable FIPS140-2 compatibility option is cleared and click Next.

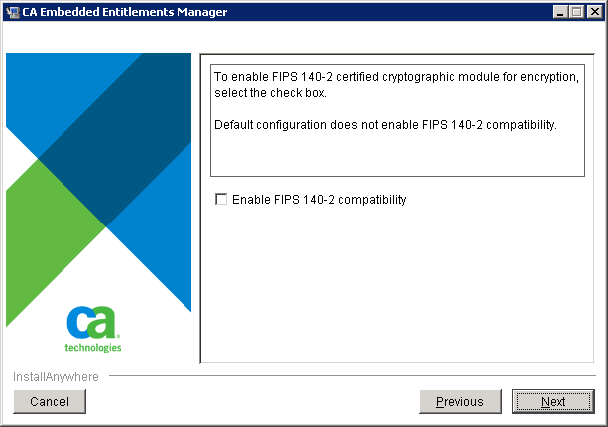
    Note: CA Automation Suite for Clouds uses MD5 as the default algorithm to encrypt and decrypt sensitive data.

    The Installation Summary page opens.

    This graphic is a screenshot of the EEM Installation Summary page.

  11. Click Install.

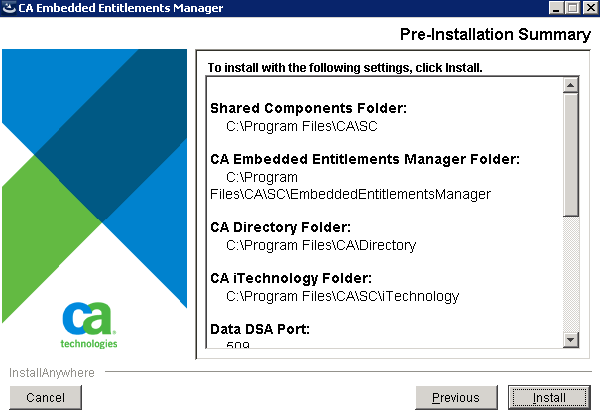
    The CA EEM installation begins and usually takes few minutes to complete.

    The Installation Complete page opens.

  12. Click Done.

    The CA EEM installation is complete.