- Open a Command Prompt using the option Run as Administrator.
- Enter MMC and press Enter.
The Microsoft Management Console opens.

- Select File from the toolbar and select Add/Remove Snap-in, from the drop-down list.
The Add or Remove Snap-ins wizard opens.
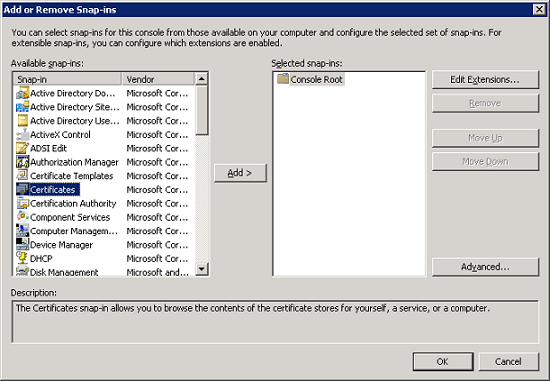
- Select Certificate in the Available snap-ins section, click Add to move it to the Selected snap-ins section, and then click OK.
The Certificates snap-in page opens.
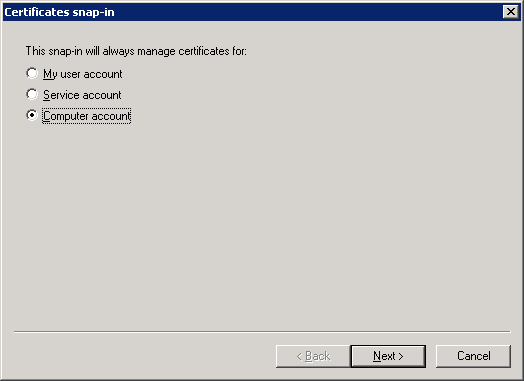
- Select Computer account and click Next.
The Select Computer page opens.
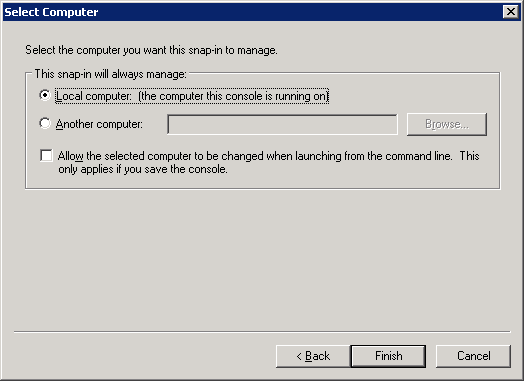
- Select Local computer: (the computer this console is running on), and click Finish.
The Add or Remove Snap-ins page opens. The Certifications (Local Computer) is added to Selected snap-ins.
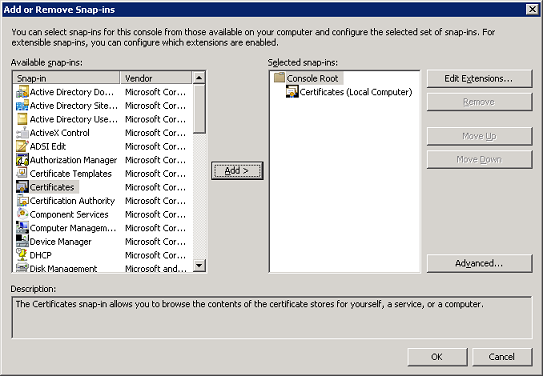
- Click OK. The Add or Remove Snap-ins wizard closes.
- Expand Certificates (Local Computer) in the Console.
- Expand Personal.
- Right-click Certificates, select All Tasks, and then select Request New Certificate.
The Certificate Enrollment wizard opens.
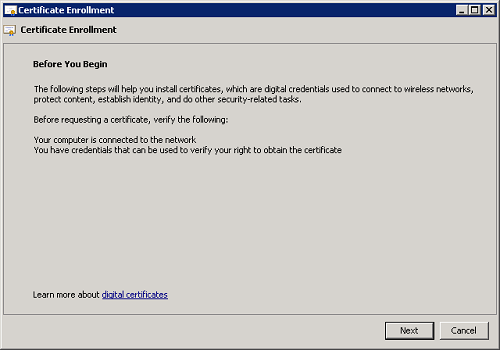
- Read the instructions and click Next.
The Select Certificate Enrollment Policy page opens.
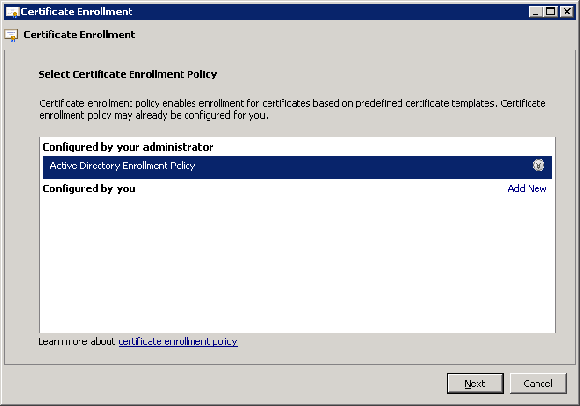
- Verify that Active Directory Enrollment Policy is selected, and click Next.
The Request Certificates page opens.
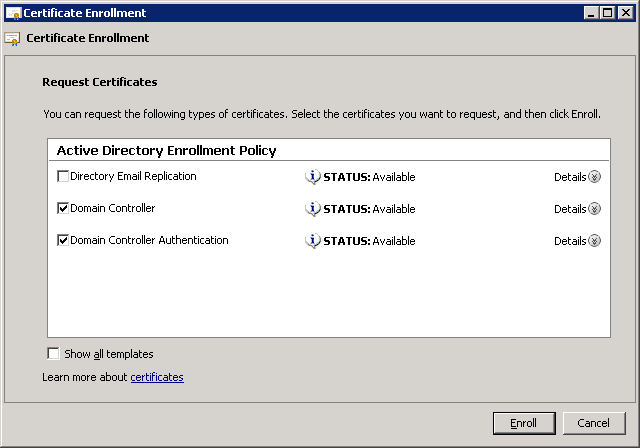
- Select Domain Controller, Domain Controller Authentication, and click Enroll.
The Certificate Installation Results page opens.
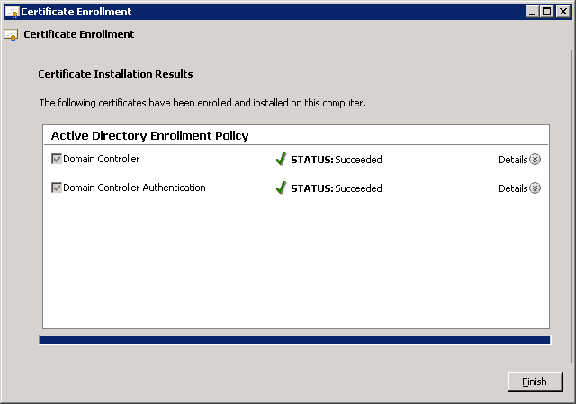
- Verify that the status is Succeeded for both policies, and click Finish.
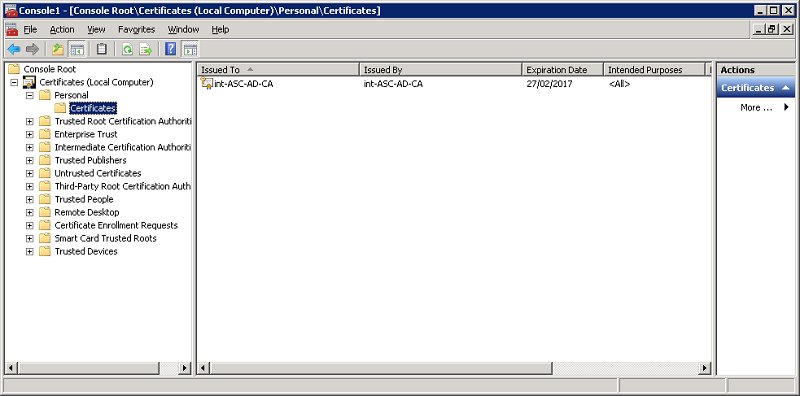
- Verify that there are three certificates under Certificates, in the Console.
- Right-click the certificate with the Intended Purpose of <All>.
- Select All Tasks and Export.
The Certificate Export Wizard opens.
- Click Next, to continue.
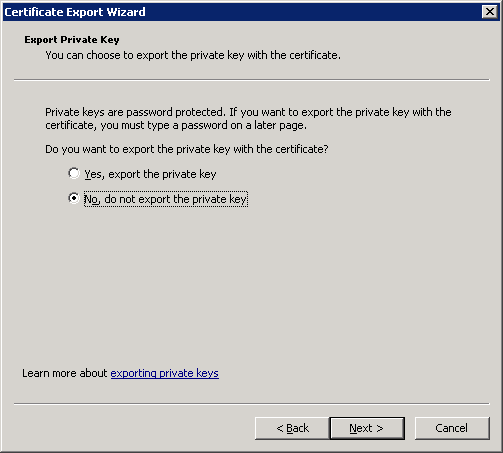
- Select the option No, do not export the private key, and click Next.

- Select DER encoded binary X.509 (.CER), and click Next.

- Browse and create a folder named Certificate (\Certificate).
- Name the certificate file to identify it (ASC-AD.cer) and click Next.
The Completing the Certificate Export page opens.
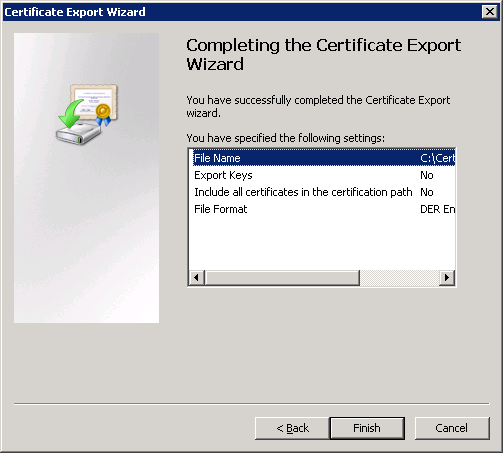
- Verify the Certification Export information and click Finish.
A success message opens.
- Click OK.
- Close the Microsoft Management Console.
A save message opens.
- Click Yes and Save to save the Console.
A Certification File (ASC-AD.cer) in created in the Certification folder on the Domain Controller.
Note: Copy the Certification File (ASC-AD.cer) to the CA Process Automation server.

