

This section describes the installation procedure for the R2 Version of SQL Server 2008. If you are installing earlier versions of SQL Server 2008, manually add the Feature Microsoft .NET Framework.
Follow these steps:
Follow these steps:
A setup message appears.

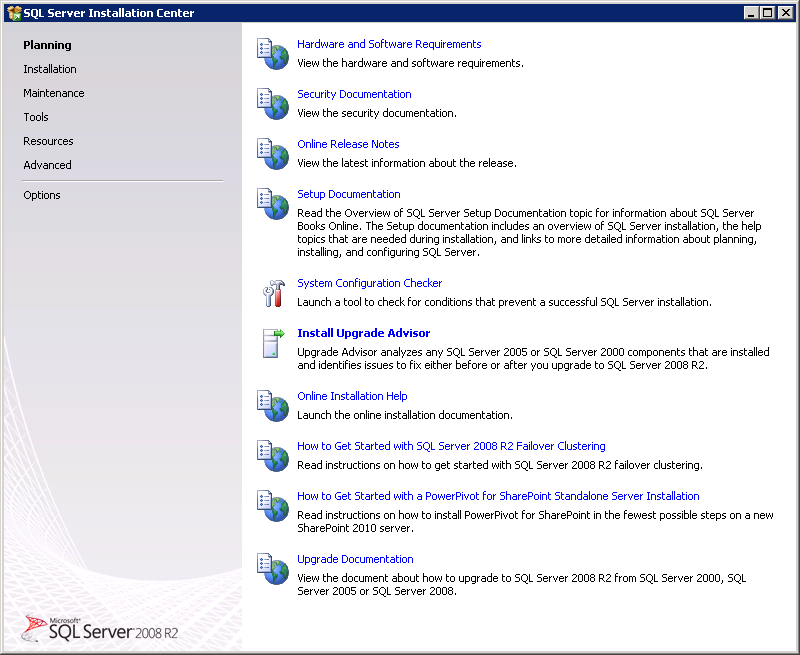
You can perform the following procedures from the SQL Server Installation Center:
The following procedure lists the steps for planning the installation.
Follow these steps:
The Setup Support Rules page opens.
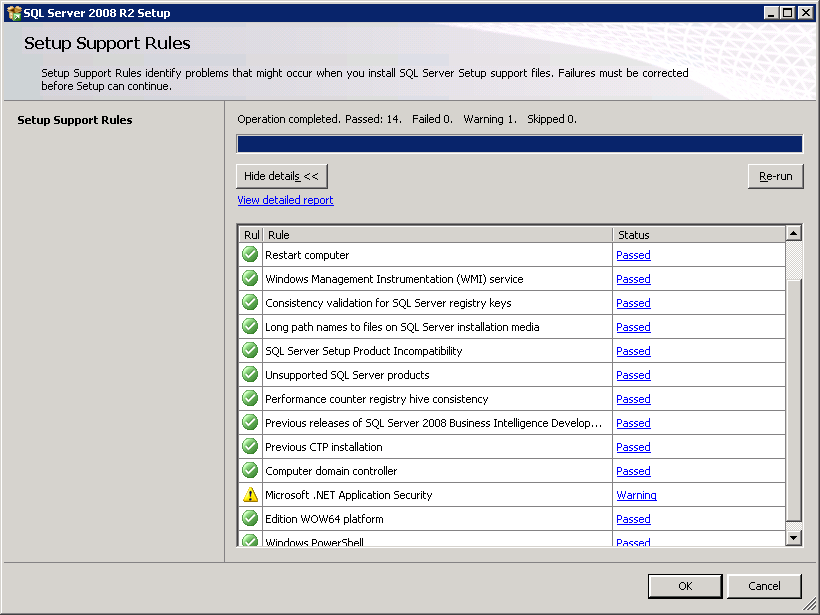
The rules with a Failed status must be corrected. Warning issues must be corrected but are not required.
The following procedure lists the steps for the installation.
Follow these steps:
The Setup Support Rules page opens.
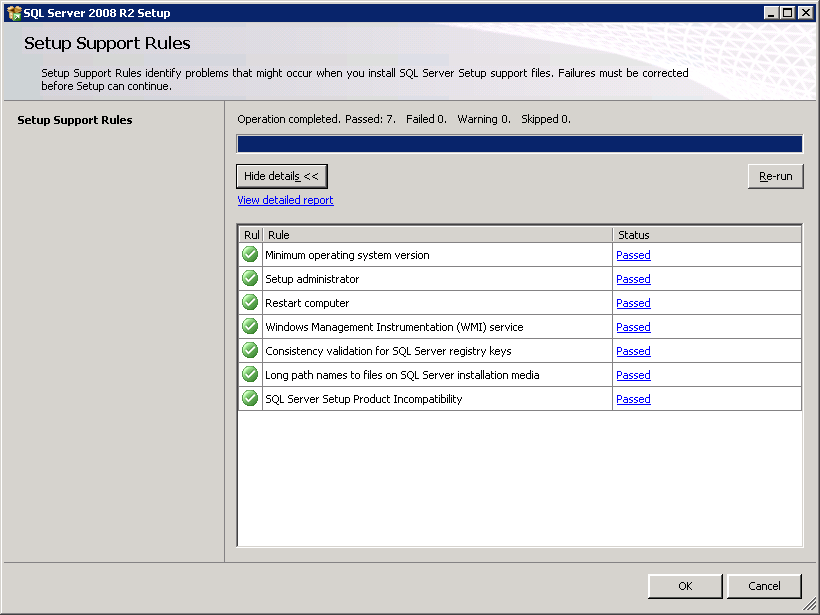
The rules with a Failed status must be corrected. Warning issues must be corrected but are not required.
Note: Verify the status and make the corrections on every Setup Support Rules page.
The Product Key page opens.
The License Agreement page opens.
The Setup Support Files page opens.
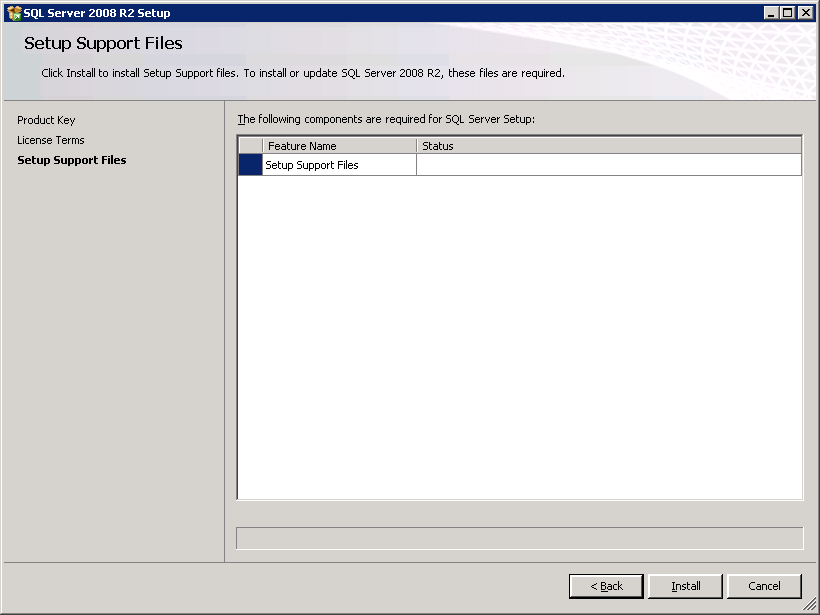
A status bar displays the progress of the installation. The Setup Support Rules page opens.
The Setup Role page opens.
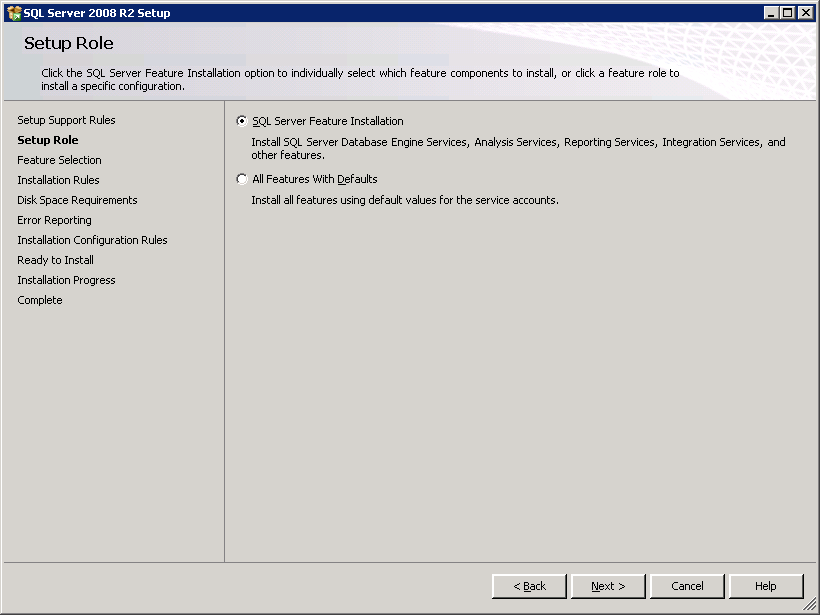
The Feature Selection page opens.
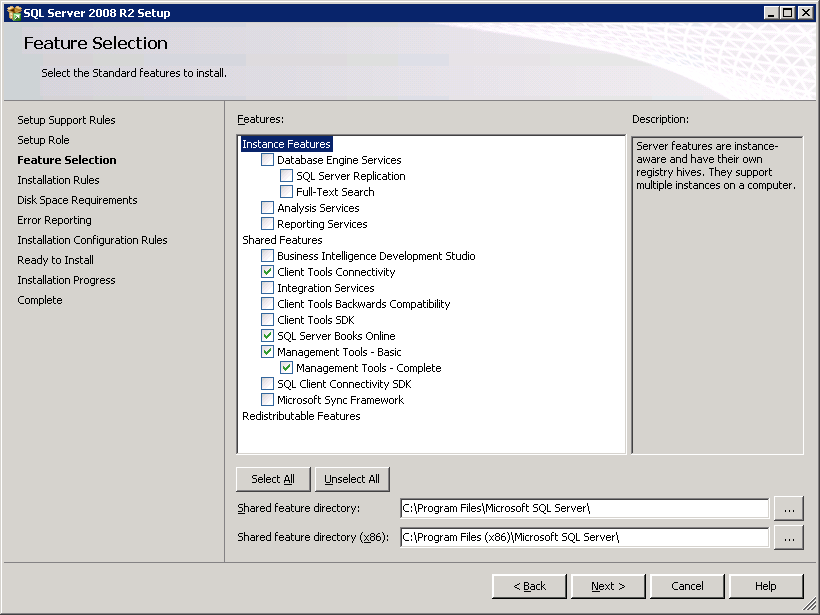
The Installation Rules page opens.
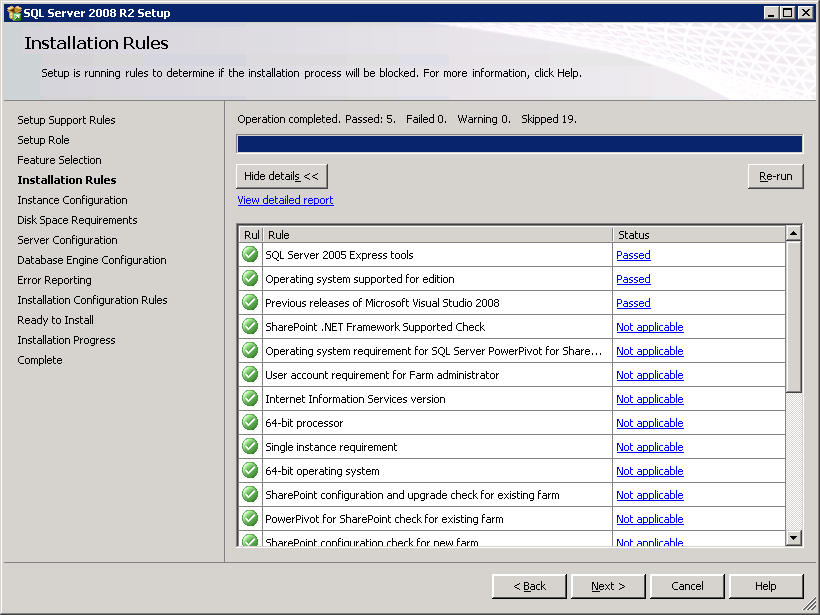
The status Skipped appears for several rules.
The Disk Space Requirements page opens.
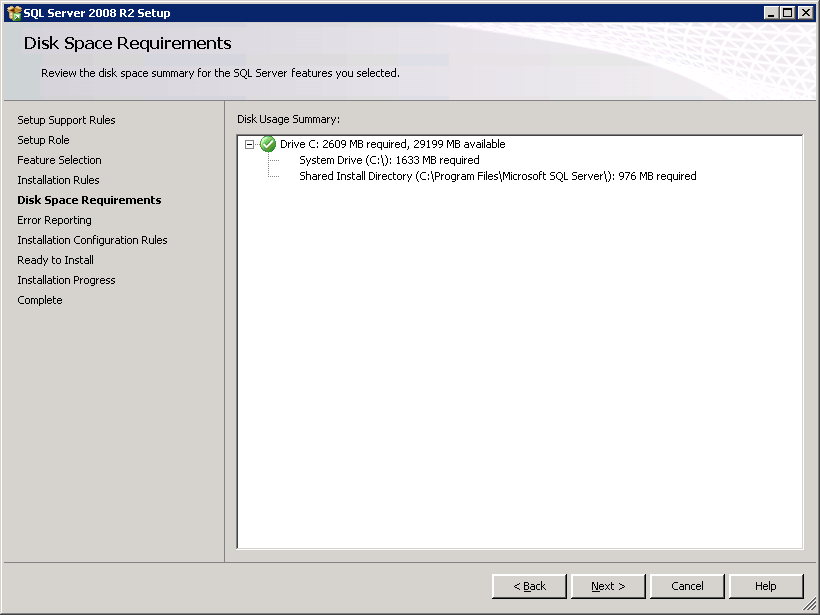
The Error Reporting page opens.
The Installation Configuration Rules page opens.
|
Copyright © 2014 CA.
All rights reserved.
|
|