- Click Start, All Programs, BusinessObjects XI 3.1, BusinessObjects Enterprise, BusinessObjects Enterprise Central Management Console.
- Log in to the Central Management Console as the BOXI Application Administrator.
- Click Authentication under the Manage column.
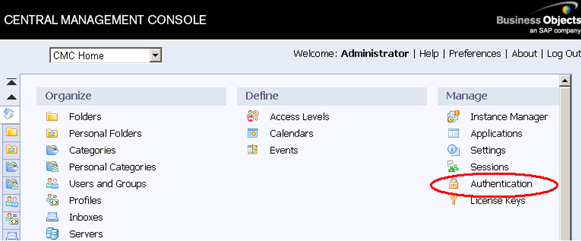
- Double-click LDAP on the Authentication Page.
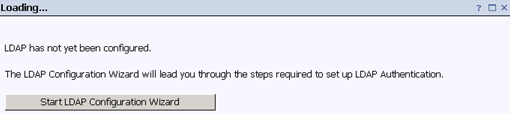
- Click Start LDAP Configuration Wizard.
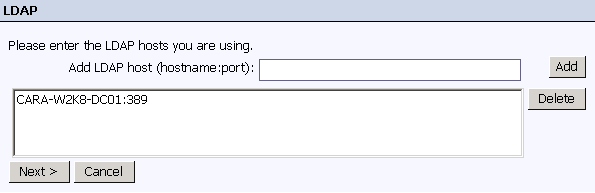
- Type the LDAP host name and Active Directory listening port, click Add, and click Next.
- Select the LDAP Server Type as Microsoft Active Directory Application, then click the Show Attribute Mappings link.

The attribute mappings appear.
- Change the following attributes and click Next.
- User Name
-
Value: sAMAccountName
- Default User Search Attribute:
-
Value: sAMAccountName
Note: When the attributes are changed, the LDAP Server Type value changes to Custom automatically.
- Provide the Base LDAP Distinguished Name, and click Next.
For example, cn=users,dc=gsplab,dc=ca,dc=com
- Provide the Distinguished Name and password, leave the default for LDAP Credentials and Maximum Referral Hops, and click Next.
For example, CN=GSP Admin,CN=Users,DC=GSPLAB,DC=ca,DC=com
- For the Type of SSL authentication, accept the default as Basic (no SSL) and click Next.
- For Authentication, accept the default as Basic (no SSO) and click Next.
- Set the appropriate LDAP Import options:
- Click Finish.
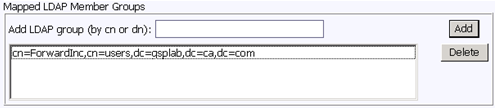
- Map LDAP Member Groups. Type the group name in the Add LDAP group (by cn or dn): Field, and click Add.
For example, cn=ForwardInc,cn=users,dc=gsplab.dc=ca,dc=com
Note: Do not prefix the LDAP group dn or cn with “secLDAP.”
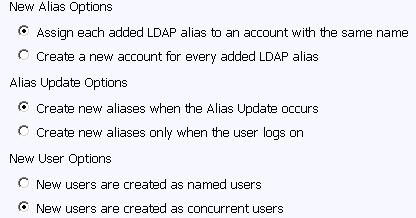
- On the same screen, verify that the following options are selected:
- New Alias Options:
Assign each added LDAP alias to an account with the same name.
- Alias Update Options:
Create new aliases when the Alias Update Occurs.
- New User Options:
New users are creates as concurrent users.
- Attribute Binding Options:
- Select the Import Full Name and Email Address checkbox.
- Select the Give LDAP attribute binding priority over AD attribute binding checkbox.
- Click Update to complete mapping.
- Scroll to the top of the screen and verify the message, "LDAP Authentication updated" appears.
- Close the screen and return to the Authentication screen in the Central Management Console.
- Select Users and Groups from the Central Management Console drop-down list.
- Verify that users are imported:
- By default, the Group Hierarchy appears, showing the LDAP groups added in Step–14.
- Click User List and verify that LDAP users are imported.
- Add the mapped LDAP groups to the appropriate CA Business Intelligence groups by performing the following steps:
- Click Group List. Right-click a group name and click “Add Members to Group”.
- Select the LDAP group, and click the ">" button.
- Click OK.
Verify that the LDAP group shows up under the CABI group, under Group Hierarchy.
For example, map cn=Report Admins to the CA Report Admins group. In this example, the LDAP group members inherit privileges to administer reports.

