

CA ARCserve Central Protection Manager lets you update information about nodes that were added previously. You update nodes when the following conditions arise:
Note: When you add or update nodes that function as CA ARCserve Backup branch servers associated with a central primary server, the host name of the central primary server appears in two locations on the Node screen. The first location on the Node screen is the All Nodes group. The full name of the server displays in the All Nodes group, regardless of the quantity of characters contained in the host name of the server. The second location on the Node screen is Global Dashboard Groups. When the host name of the server contains more than 15 characters, the host name of the server is truncated to 15 characters in Global Dashboard Groups.
Follow these steps:
From the Navigation Bar on the home page, select Node.
The Node screen displays.
The nodes that are associated with the group appear in the nodes list.
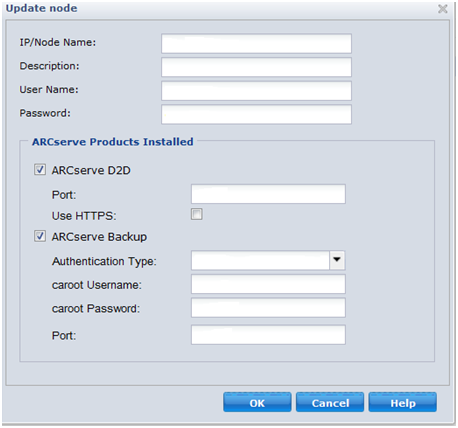
The Update Node dialog opens.
Note: To update all nodes in the node group, right-click the Node Group name and then click Update Node from the pop-up menu.
Note: To update multiple nodes on the Node list, select the desired nodes, right-click any node, and click Update Node from the pop-up menu. The user name and password are the same for all selected nodes. By default, the Specify new credentials option and the Take control of the node check box is selected. You can specify a new user name and password for the selected nodes and can force this server to manage the nodes. In addition, you can select Use existing credentials to apply the current user name and password. The fields become disabled.
The Update Node dialog closes and the nodes are updated.
Note: When you update one or more of the fields described in the previous step, the Update Node dialog opens to let you specify more details.
The node is updated.
|
Copyright © 2013 CA.
All rights reserved.
|
|