

The Sort feature sorts the table by the values in the columns of the table. Every object attribute (or field for z/OS) in a table can serve as a sort key. You can use the Windows Client Sort Dialog to sort object data in both the Table View and the Graph View.
Note: The Customize View Wizard in the Web Client provides a similar sort feature. For more information, see the CAVantage SRM Web Client Guide.
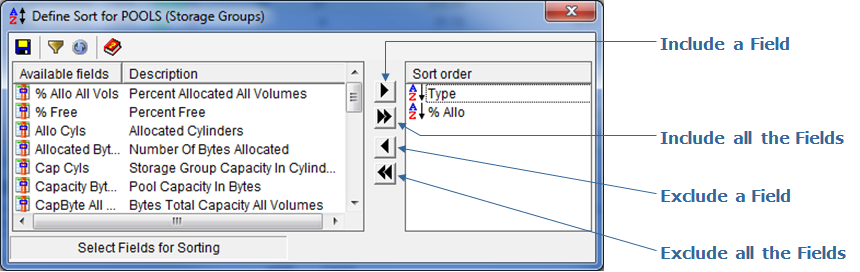
The following is a sample of the Windows Client Sort dialog for the POOLS object. It points out how to include and exclude fields the object view is sorted by.
To change the Sort order using the Windows Client Sort dialog
The Ascending Sort Order icon (![]() ) appears.
) appears.
The Descending Sort Order icon (![]() ) appears.
) appears.
Note: To immediately view the effect of your sort you must click the Apply and Refresh Data icon (![]() ).
).
You can sort object data by columns directly in the Table View.
To sort the Table View by columns in the Windows Client
The first time the column title is clicked the table is updated and sorted in ascending order by object data in that column.
The table is updated and sorted in descending order by object data in that column.
After you have created a Table View column sort in this manner you may want to remove it; to remove a Table View column sort, click the Sort icon (![]() ) and use the Exclude a Field option or the Exclude all the Fields option.
) and use the Exclude a Field option or the Exclude all the Fields option.
|
Copyright © 2011 CA Technologies.
All rights reserved.
|
|