Installing CA Threat Manager in the Enterprise › CA TM Agent Installation and Discovery › Configure the Installation Control File
Configure the Installation Control File
The Installation Control File (inoc6.icf) file plays an important role in deployment. You can use it to create customized policy settings prior to deploying the CA TM Agent or you can simply use the default settings. If you use the default settings, you can later create and distribute custom policies using the Threat Management Console. Whether you customize the ICF file or not, your client machines are protected as soon as the CA TM Agent is installed on them.
You can edit the ICF file using the Remote Install Utility, as described below, or using any text editor.
Note: For this procedure you will need the IP address of the CA ITM Server machine.
To configure the installation control file
- (On Windows) Select Start, Programs, CA, eTrust, eTrust ITM, Remote Install Utility.
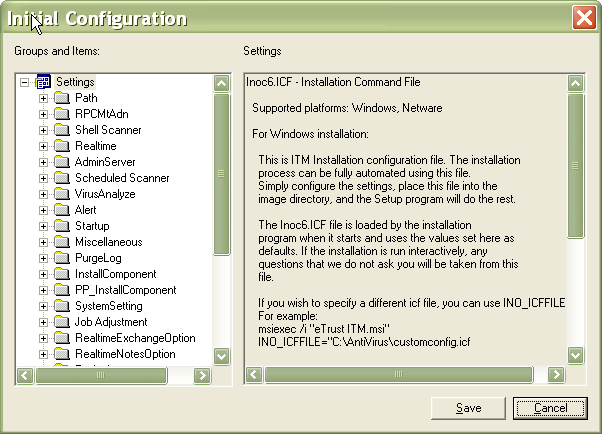
The Remote Install Utility window opens.
- From the File menu, select Modify ICF file.
- Select inoc6.icf, and click Open.
The inoc6.icf file appears.
- Click Phone Home, then make the following modifications:
- Set PhoneHomeAtStartup to (1) Phone Home at startup.
- For ServerList, enter the IP Address of the CA TM Server machine.
Note: If you are using multiple CA TM Servers, separate each IP Address with a comma.
- Click License, and then Host Server and enter the IP address of the CA TM Server machine.
Note: If you are using an Internet Proxy machine, enter the proxy information in ProxyServer, ProxyPort, ProxyUserID, and ProxyPassword.
- If you currently have PestPatrol installed, select PP_InstallComponent and make the following modifications:
- Change UninstallPPCorpV5 to Yes.
- Change KeepPPCorpV5Setting to No.
- (Optional) The following settings control what is displayed on the client machines' screen:
- If you do not want to display the eTrust Integrated Threat Management splash screen, select Realtime and change bRTAboutBox to 2 - Do Not Show.
- If you do not want a policy pop-up message to appear when a scheduled scan job has been pushed to a machine, select Job Adjustment, and change RequestJobEnabled to 2 - Do Not Show.
- Click Save and exit the Remote Install Utility.
Copyright © 2009 CA.
All rights reserved.