Previous Topic: Run the SOA Agent Configuration Wizard

Next Topic: Add Handler Mappings to the IIS 7.5 Web Sites you want to Protect with SOA Security Manager

Add the Agent ISAPI Filter to the IIS 7.5 Web Sites that you want to Protect with SOA Security Manager

To run a SOA Security Manager Web Agent on IIS 7.5, add a SOA Security Manager ISAPI filter to the top-level folder of each website you want to protect. This filter executes the Web Agent ISAPI scripts and other files.

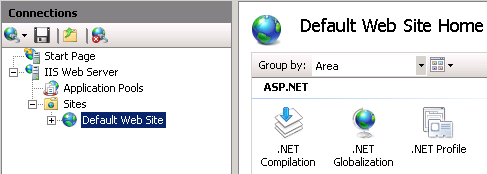
The following illustration shows a top-level folder named "Default Web Site," which needs the ISAPI Filter added manually:

The Top Level Default Web Site folder on an IIS Web Server

To add the agent ISAPI filter to the IIS 7.5 web sites that you want to protect with SOA Security Manager

  1. Open the Internet Information Services (IIS) Manager.

    Note: If the User Account Control dialog appears, click Continue.

  2. In the Connections pane, expand the web server.

    The Sites folder appears.

  3. Expand the Sites folder, and then click the icon of the additional website that you want to protect with SOA Security Manager.
  4. Under the IIS section, double-click ISAPI Filters.

    The ISAPI Filters screen appears.

  5. Under the actions pane, click Add.

    The Add ISAPI Filter dialog appears.

  6. Type a name for the filter. We recommend using a name that is easy to recognize, such as "SOA Security Manager ISAPI Filter."
  7. Click the ellipsis button (to the right of the Executable field).

    The Open dialog appears.

  8. Navigate to the following file:
    web_agent_home\bin\ISAPI6WebAgent.DLL
    
  9. Click Open.

    The ISAPI6WebAgentDLL.dll file appears in the Add ISAPI Filter dialog.

  10. Click OK.

    The Add ISAPI Filter dialog closes and the SOA Security Manager ISAPI Filter appears in the list.

  11. Repeat Steps 3 through 10 to protect any other web sites with SOA Security Manager.

    The Agent ISAPI filter is added.