

|
|
|
Use the Job Edit dialog to edit jobs; this dialog contains text entry fields for entering job information, and buttons for displaying three additional related dialog boxes. This dialog is similar to the Create Job dialog.
To edit a job, select the job and click Edit... from the Jobs menu. In the Graphical Display window, you can also Double-click on a job to edit it. The following figure shows the primary Job Edit dialog:
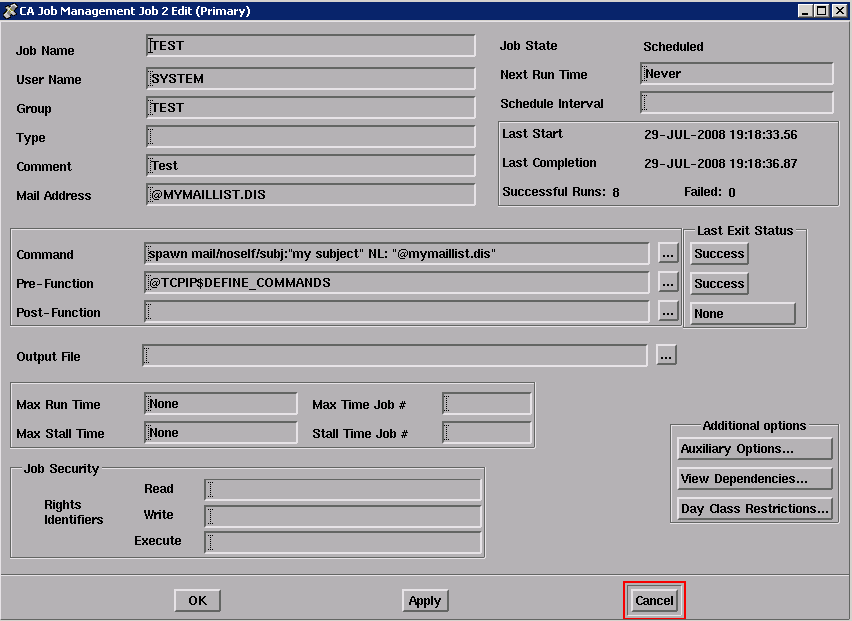
This dialog contains text entry fields for entering job attributes and buttons for displaying three additional related dialog boxes.
To edit a job in the Job Management Manager database:
The primary Job Edit dialog is displayed.
Characters appear in the fields as you type.
A highlighted message reporting the job modification is displayed in the Real Time Message Display dialog, and a small DECwindows message appears.
The associated dialog is removed from the screen.
Refer to the table in Creating a Job for a description of fields in the primary Job Create dialog.
The following figure shows the Auxiliary Options dialog:
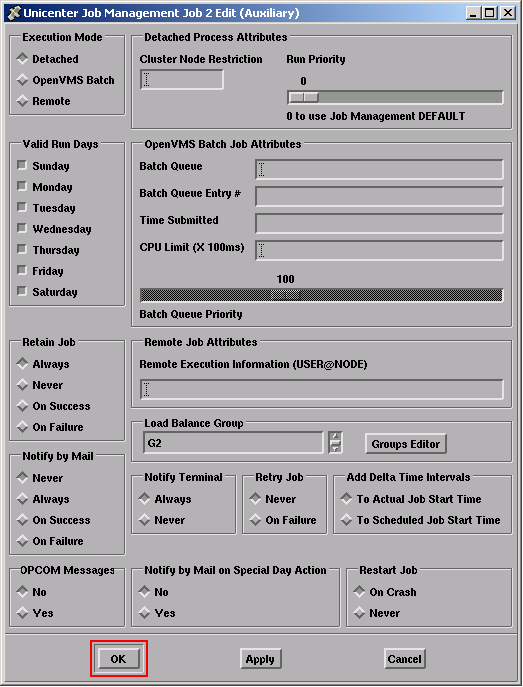
For information about Special Day Restrictions, see the section Setting or Editing Day Class Restrictions.
For information about Load Balance Groups, see the section Setting or Editing Load Balance Groups for Jobs.
| Copyright © 2012 CA. All rights reserved. | Tell Technical Publications how we can improve this information |