Installation Guide › WebSphere Version › Single Node Installation › How to Perform a Single Node Installation › Install CA Identity Manager Components
Install CA Identity Manager Components
For a production environment, use separate systems for data servers. For example, we recommend that the Provisioning Directory and a database (SQL or Oracle) are on a separate system from the Identity Manager Server and the Provisioning Server. If you are installing SiteMinder, you may also prefer to have it on a separate system. The Administrative Tools can be installed on any system.
Use the CA Identity Manager installer to perform the installation on the systems required. In the procedures that follow, the step to run the installer refers to this program in your installation media's top-level folder:
- Windows:
ca-im-release-win32.exe
- UNIX:
ca-im-release-sol.bin
release represents the current release of CA Identity Manager.
For each component that you install, be sure that you have the required information for installer screens, such as host names and passwords. If any issues occur during installation, check the installation logs.
To install the Extensions for SiteMinder
- Log into the system where SiteMinder is installed as a Local Administrator (for Windows) or root (for Solaris).
- Stop the SiteMinder services.
- Run the installer and select Extensions for SiteMinder.
To install the Identity Manager Server
- If you have installed SiteMinder on a separate system, be sure that you have installed the extensions for SiteMinder there also.
- Log in to the system where the application server is installed as a Local Administrator (for Windows) or root (for Solaris).
- Stop the application server.
- Run the installer and select the Identity Manager Server.
To install the Provisioning Directory
- Log into the system as a Local Administrator (for Windows) or root (for Solaris).
- Be sure that CA Directory is already installed on the system.
- Run the installer and select the Identity Manager Provisioning Directory Initialization.
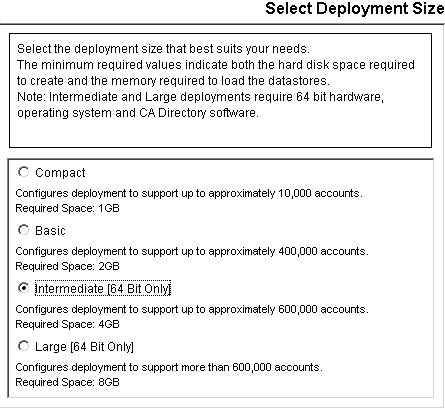
- Answer the question about deployment size. Consider the following guidelines, while allowing room for future growth:
- Compact—up to 10,000 accounts
- Basic—up to 400,000 accounts
- Intermediate (64 bit only)—up to 600,000 accounts
- Large (64 bit only)—more than 600,000 accounts

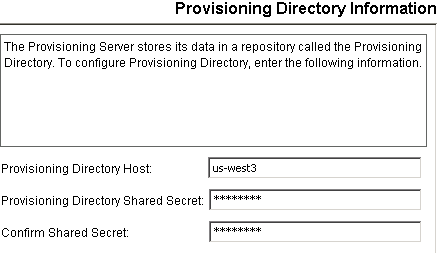
- When you enter any password or shared secret in the installation, be sure to provide a password that you can recall when needed.

To install the Provisioning Server
- Log into the system as a Local Administrator (for Windows) or root (for Solaris).
- Be sure that CA Directory is already installed and you have the details of the remote Provisioning Directory.
- Run the installer and select the Identity Manager Provisioning Server.

