Administration Guide › Action Alerts › Working with CA IT PAM Event/Alert Output Processes › Example: Send an Alert that Runs an IT PAM Process Per Query
Example: Send an Alert that Runs an IT PAM Process Per Query
You can send an alert that runs the CA IT PAM event/alert output process per row or per query. This example illustrates the procedure of running the process per query. It includes an example of what can be viewed for this type of alert by personnel working with the third-party product to which CA IT PAM sent the details.
To send an alert that runs the CA IT PAM event/alert output process per query
- Click the Alert Management tab and then click the Alert Scheduling subtab.
- Click Schedule an Action Alert.
The Schedule Action Alerts wizard appears.
- Complete the Alert Selection step as follows:
- Enter the job name.
- Select a query.
- (Optional) Select a date range for running the query and the maximum number of rows to display.
- Click Result Conditions.
- Select a date range such as 'now' and 'now' '-1 hours'
- Select result display parameters.
- Define the schedule.
- Define the alert data to pass to the IT PAM process along with the event data retrieved by the query.
- Click the Destination step.
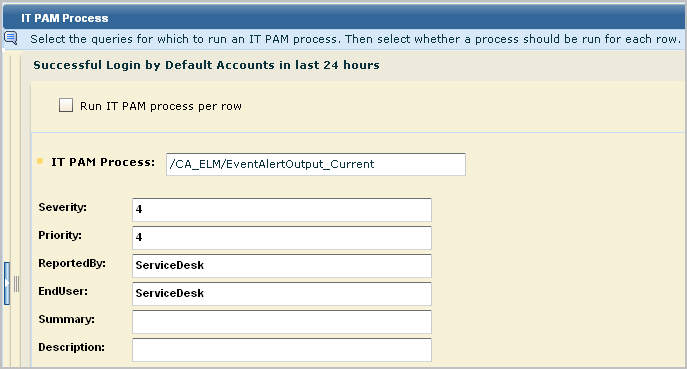
- Select the IT PAM Process tab.
- Select the query to send

- If you want results reported by query, leave the Run IT PAM process per row blank.
- Optionally, type literal text in the Summary and Description fields.

- Select a Server.
- Click Save and Close.
The job appears on the Action Alert Jobs list.
- Click the Alert Management tab, Action Alerts subtab. Select the alert you scheduled to view query results.
- Check the self-monitoring event tab for the action, Notification Creation, with results returned from CA IT PAM. A success message includes the Request number created in the third-party application, if it is a help desk product.

- (Optional) To see what the help desk personnel sees, review the results on CA Service Desk as follows:
- Log on to CA Service Desk.
- Select Request and enter the number displayed in the result description for Notification Creation. Click Go.

- Copy the URL displayed in the Summary Information section and paste it into your browser.

The CA Enterprise Log Manager logon dialog appears.
- Log into CA Enterprise Log Manager. You can use an account with a low-privilege role such as Auditor.
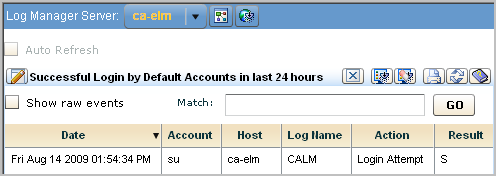
The event data returned by the query is presented in the format of the default view of the query, that is, table or chart.

If the display is in table format, you can view raw event data.
More information:
Set Notification Destinations
![]()


![]()

