Integration Guide › Integrate Entrust Security Manager › Install Entrust Security Manager › Install Entrust Security Manager
Install Entrust Security Manager
You should use the Entrust installation documentation to help you install Entrust Security Manager.
This section describes the only steps that will be defined here directly relate to the CA Directory configuration.
- Install Entrust Security Manager.
After the installation process has been completed, the following screen will appear:
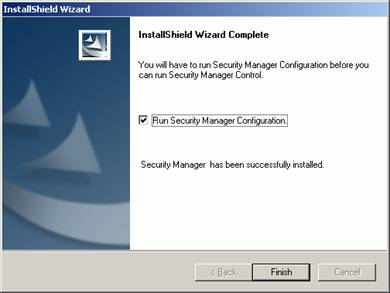
- Select the Run Security Manager Configuration checkbox.
- Click Finish.
The Security Manager configuration wizard begins
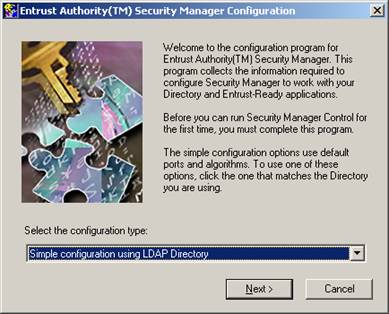
- Select the Simple Configuration using LDAP Directory from the dropdown list, and click Next.
- Follow the standard installation process until the Simple Configuration for LDAP Directory dialog appears:
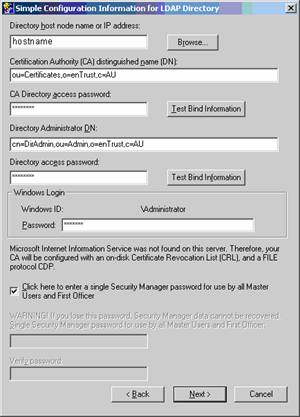
- Add the Root CA certificate DN credentials, and click Test Bind Information to test these credentials.
- Add the bind credentials of the administrative user, and click Test Bind Information to test these credentials.
- Add the DSA connection information of the Entrust DSA that you created in Create an Entrust DSA.
The details should be entered as is displayed above. The only change may be in the DN structure, if you've created a different DN suffix to the “o=entrust,c=au” suffix used above.
Note: You cannot use this dialog to change the TCP/IP port to connect to the DSA. This is set to port 389, which is the reason that you must set the Entrust DSA to use port 389.
- Click Next, and continue to configure the Security Manager as described in the Entrust installation documentation.

