The Welcome screen of the Scenario Creation Wizard is displayed.
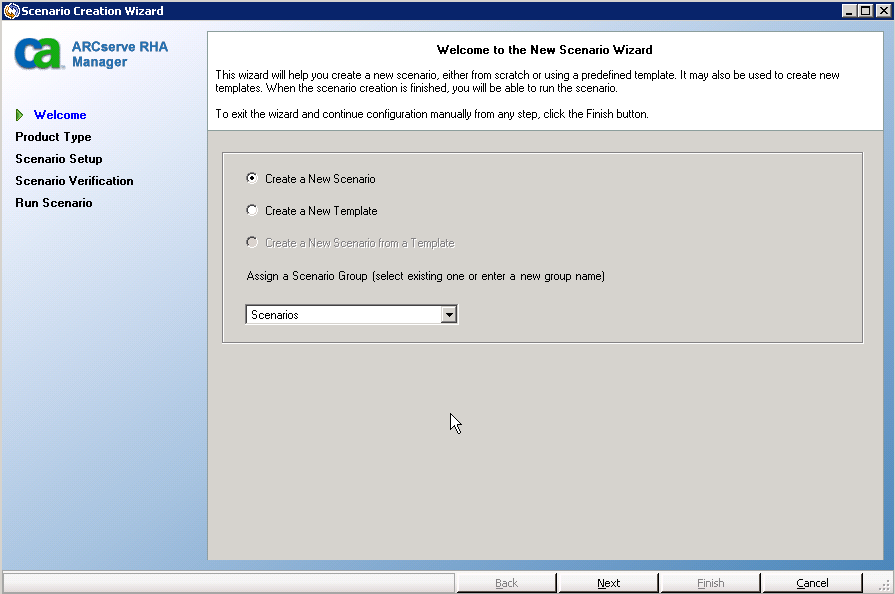
The Welcome screen enables you to create a new scenario, and to assign the new scenario to a scenario group. From the Welcome screen, you can create a new scenario directly or from a template, or create a new template. For more information about creating templates, see the topic, Using Templates.
Note: If you want to access other Manager features while you are creating a new scenario, you can minimize the Scenario Creation Wizard, and return to it later. The Scenario Creation Wizard is bound to the Scenario View. If you switch views, the wizard is automatically minimized.
- Select Create a New Scenario.
- Assign your scenario to the Group, "Scenarios" or type a name to create a new Group.
- Click Next.
The Select Server and Product Type screen opens.
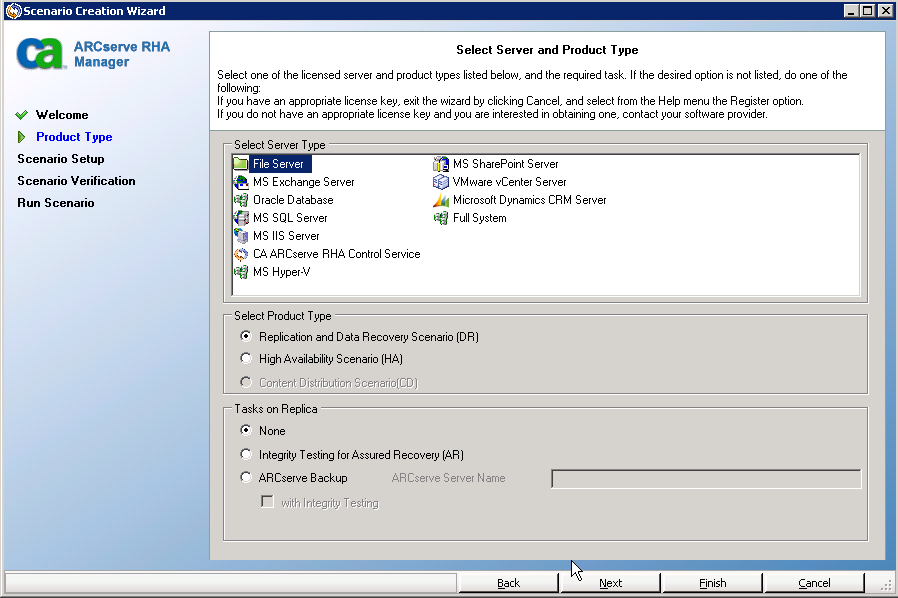
This screen lists the supported applications and product types available, depending on how you have licensed CA ARCserve RHA.
- From the Select Server Type list, click File Server. For more information about the remaining server types, see the appropriate Operation Guide.
- From the Select Product Type list, click Replication and Data Recovery Scenario (DR). For more information about High Availability Scenarios (HA), see the topic, Create a New File Server HA Scenario.
- From the Tasks on Replica list, click None. For more information about Integrity Testing for Assured Recovery, see the topic, File Server Assured Recovery.
- Click Next.
The Master and Replica Hosts screen opens.
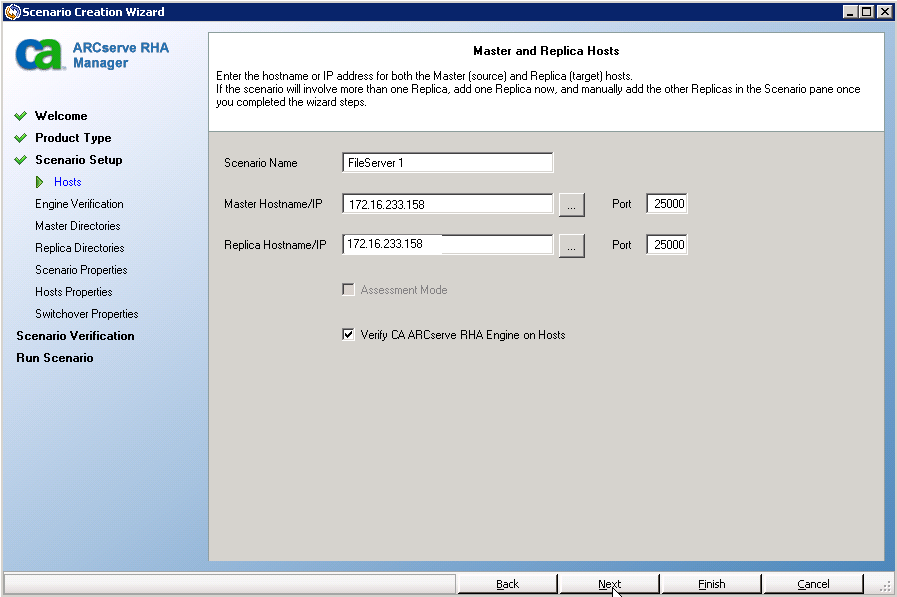
On this screen, you will specify the host to protect (Master) and the host that holds the replicated data (Replica).
- In the Scenario Name field, accept the default name or enter a new one. When entering a name, click a unique name, since you cannot use the same name for more than one scenario.
- In the Master Hostname/IP field, enter the hostname or IP address of the Master server. This is the source machine. Use the Browse button to find one.
- In the Replica Hostname/IP field, enter the host name or IP address of the Replica server. This is the target machine. Use the Browse button to find one. If you want to include additional Replicas in your scenario, enter the details for the first or most upstream server here. When you have finished the Wizard to create the scenario, you can manually enter additional Replica servers, if needed. See the topic, Add Additional Replica Servers.
- In the Port fields, accept the default port number (25000) or enter new port numbers for the Master and Replica.
- (Optional) If you want to gather statistics about the accurate bandwidth usage and compression ratio benchmarking without actually replicating data, enable the Assessment Mode option. If you select this option, no replication occurs, but a report is provided after the assessment process is completed. For this example, do not enable this option.
- (Optional) Enable the Verify CA ARCserve RHA Engine on Hosts option to instruct the system to verify whether the Engines are installed and running on the Master and Replica hosts you specified on this screen. If Engines are not installed on the hosts you specified, you can use this option to install the Engines on one or both hosts remotely. For this example, enable this option.
- Click Next.
The Hosts Verification screen opens if you enabled the option, Verify the CA ARCserve RHA Engine on Hosts. The software verifies the existence and connectivity of the Master and Replica hosts specified on the previous screen. After connections are verified, the software checks whether an Engine is installed on each host. If the user credentials you used to log in to the Manager are different than the ones required for working with the remote hosts, the Server Status is reported as Not Connected. You are then prompted to enter User Credentials for each selected host. Verification repeats after you do so.
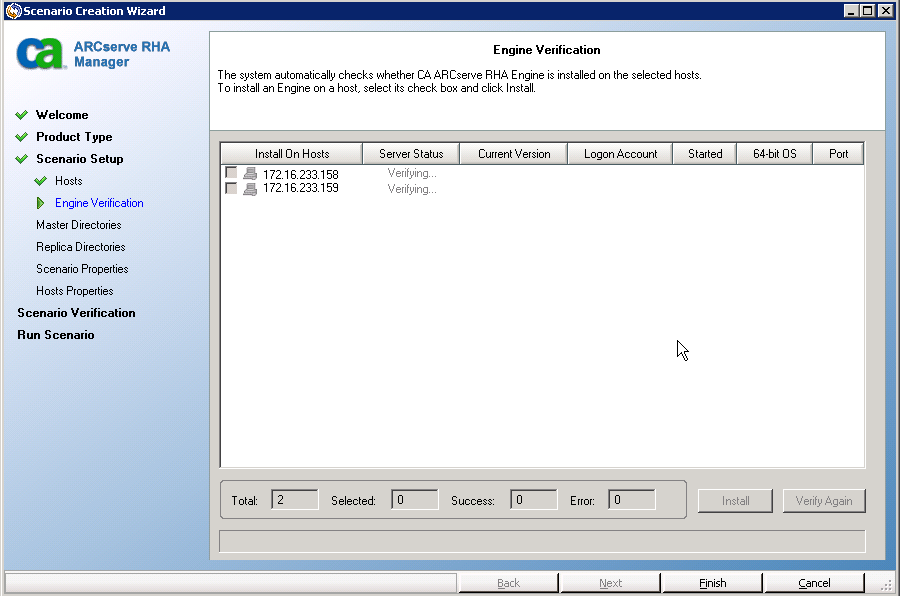
Do one of the following:
- If an Installed indication appears under the Server Status column in both rows, you can move to the next page.
- If an Installed indication appears, but the version number is different than the version number of the Control Service you are using, click Install to re-install the current version.
- If a Not Installed indication appears, you must install the Engine. Click Install to remotely install the Engine on the selected host. You can install the Engine on both hosts at once. Click the box for each server and then click Install.
After you click Install, you are prompted to enter the CA ARCserve RHA Engine service log on account credentials:
- For Replication scenarios - it is sufficient to be a Local Administrator (Local System).
- For Clusters (Including replication scenarios) - you need to run under the same account as the Cluster Service account.
- For HA scenarios - you need to run under an account with Domain Administrative privileges.
- Wait while installation completes and the Engine version number appears in the Current Version column.
- Click Next.
The Master Root Directories screen opens.

This screen displays the directories and files on the Master server. These directories and files are the data that can be replicated and protected. The software automatically aggregates data with a common path into one directory.
When you select root directories for the Master and Replica servers, the total character length of the root directory plus subdirectory names should not exceed 1024 characters.
When you select a drive or directory on the left, the software displays its contents on the right. You can use wildcards to filter the data to be replicated by selecting the appropriate option button on the File Filter section, and entering the expression in the field below. For more information, see Filter Master Directory Files.
Replication of mount points will succeed only if those files were added to the Master before the Engine began to run. If you included the mount points in the Master root directories when the Engine was already running, no error is reported but replication does not start. In this case, you must restart the Engine to initiate replication.
Click Next. The Replica Root Directories screen opens.
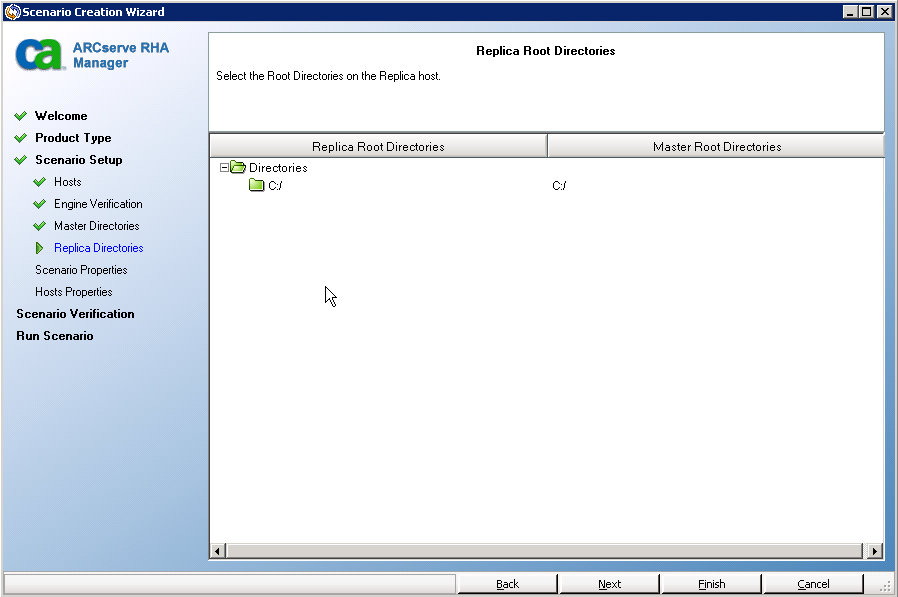
The Wizard automatically configures the Replica root directories to be the same as the Master Root Directories. If you want to keep this configuration, verify the Replica server has the same drive letters as the Master and that the selected directories on the Replica do not contain data you want to save.
You may change the default configuration outsize of the Wizard as described in Select Replica Root Directories. To change the Replica Root directories now, double-click the specified directory path to open the Browse and Select Replica Directory screen. Select the new directory and click OK to return to the Replica Root Directories screen.
You may also type a directory directly. If the name you type does not exist, the software creates it automatically.
Click Next. The Scenario Properties screen opens.
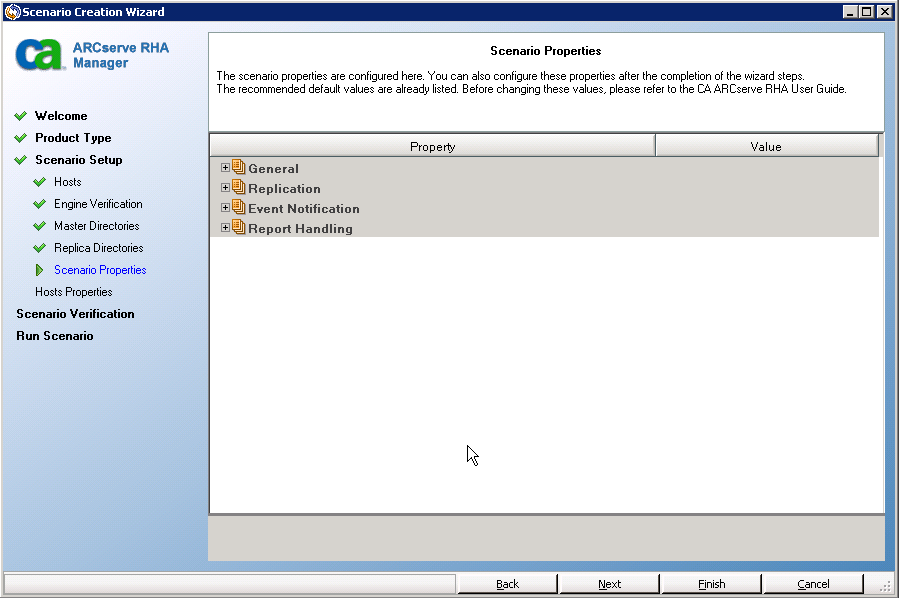
You should review Spool Information before you change any Spool properties.
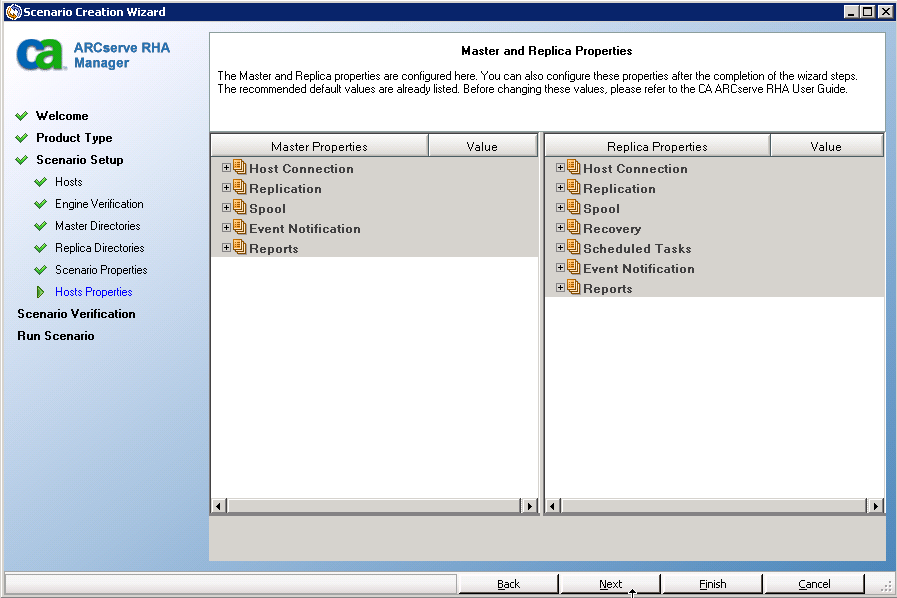
Click Next. Wait until the Scenario Verification screen opens.

Click Next when all errors and warnings are resolved. The Scenario Run screen opens.
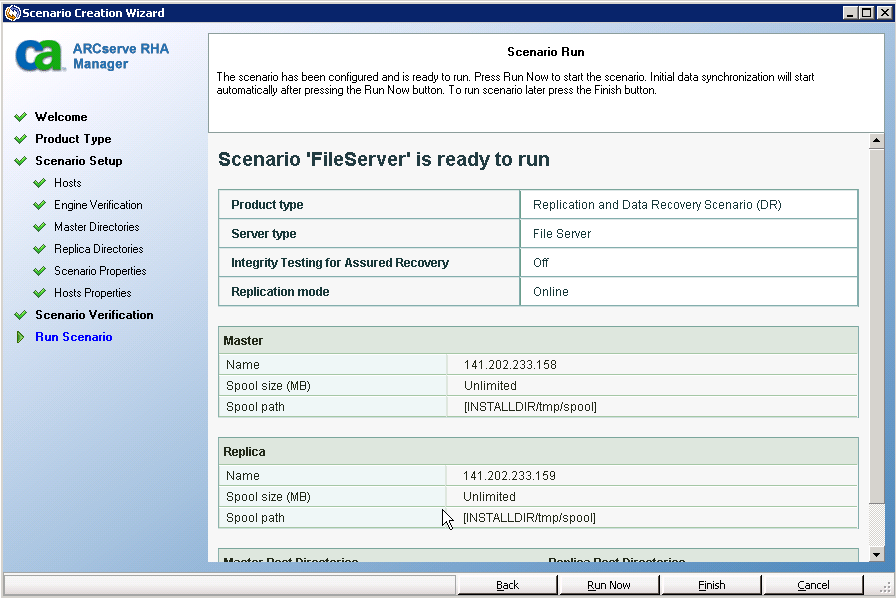
Note: Synchronization may take a while, depending upon your database size and network bandwidth. If you wish, you may choose Offline Synchronization. For more information, see the topic, Synchronization Methods.
If you choose Run Now, the software notifies you when synchronization completes. At this point, real-time replication is operational and the replication scenario is active.
A synchronization report is generated. To view the report, see the topic, Viewing a Report.