

|
|
|
You can perform disaster recovery on Windows Server 2008 using the Bootable CD method.
To perform disaster recovery
Note: You can also use the USB flash media for recovery. If there is more than one raw disk present in the system, you will be prompted to reboot the system. Click OK to reboot and follow step 1.
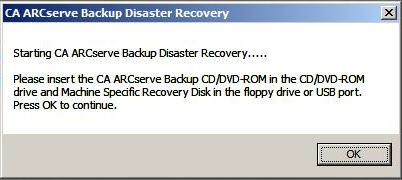
The Advanced Disaster Recovery dialog opens and starts the recovery process.
Note: In Windows Server 2008 disaster recovery, multiple instances of machine specific disks are stored on the storage media.
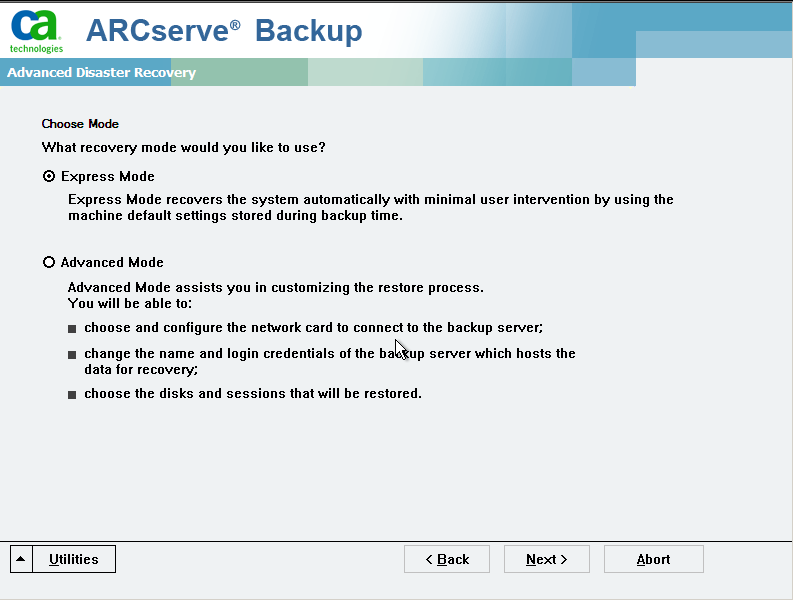
The Choose Mode dialog opens.
Recovers the system by using the machine default settings stored during backup.
Recovers the system using the customized process. You can configure the network card, change the login credentials and also select the sessions.
For Express Mode:
The Enter caroot Password dialog opens.
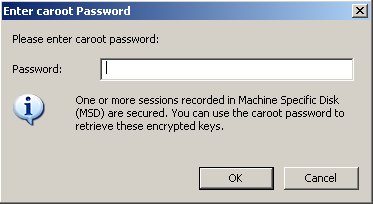
As the disaster recovery session has to be restored during this period, you will be prompted to provide the caroot password. This could be for the following reasons:
Note: This password is required to work with the saved session password or the encryption key to restore encrypted or password protected sessions. Enter the correct caroot password, if necessary, to avoid manual decryption of each session.
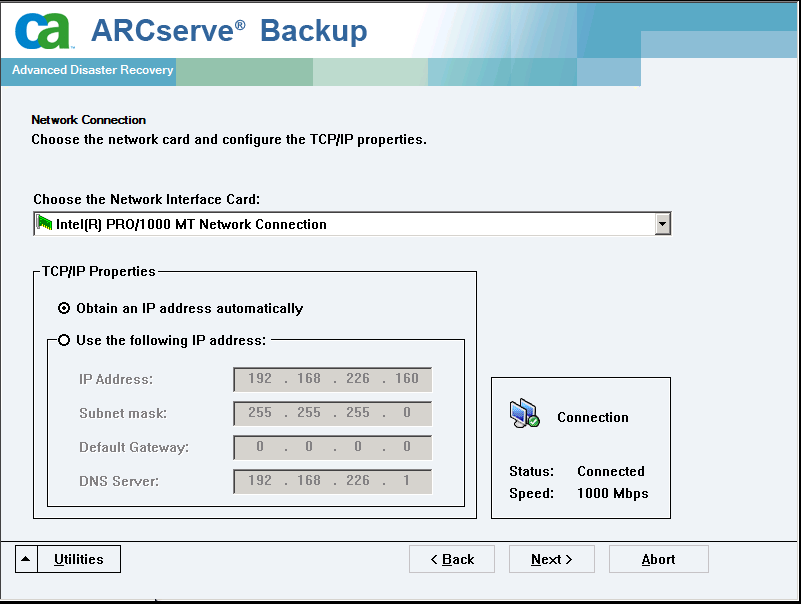
For Advanced Mode:

The Enter caroot Password dialog opens.
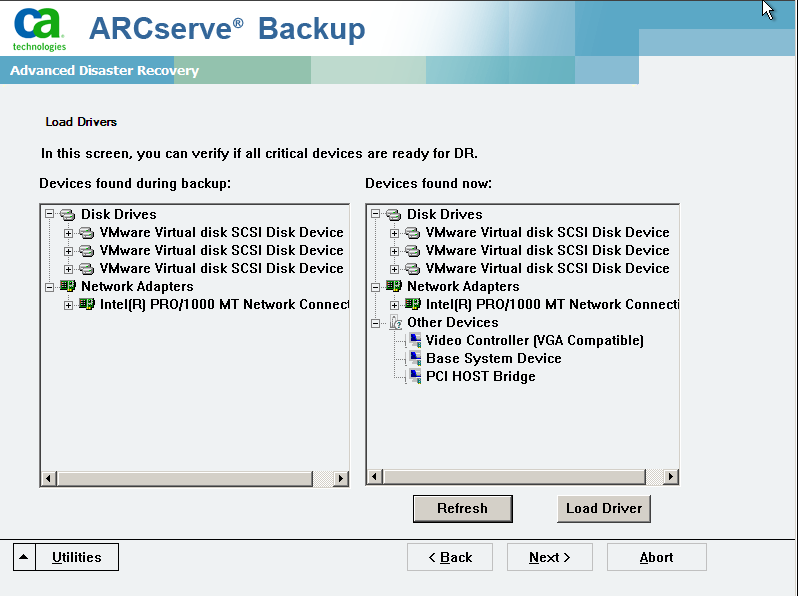
The Load Drivers dialog opens.
The Network connections dialog opens followed by the Session dialog.
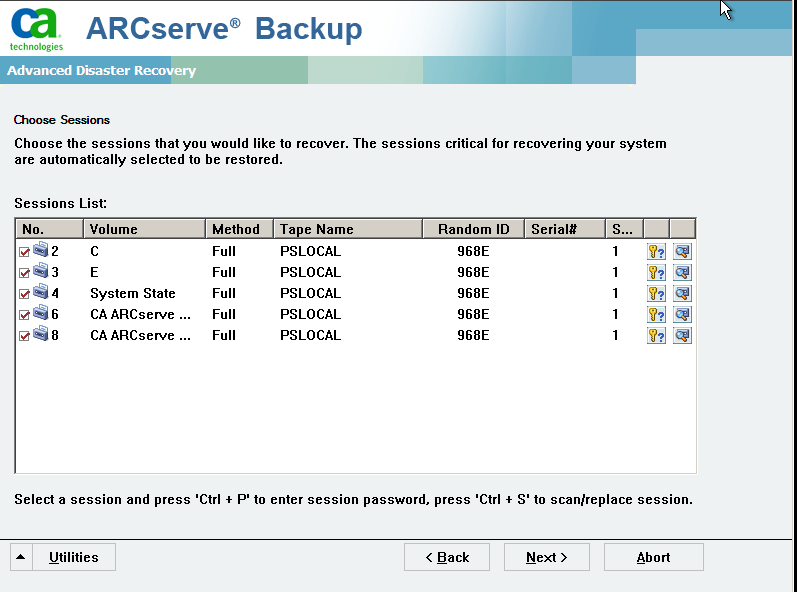
You can enter the password for each session depending on the status of each key at the end of each row in the Session Assign dialog. Types of keys include:
The Summary dialog opens.
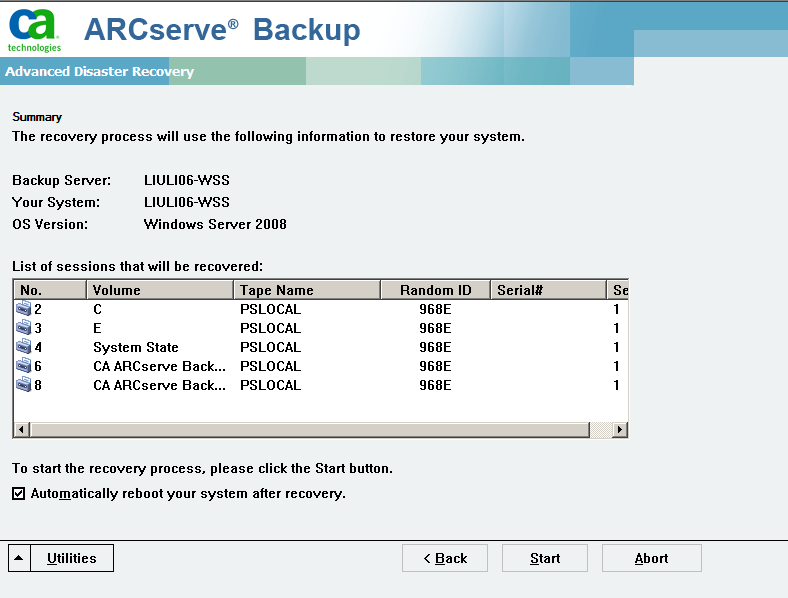
The data is copied from the specified sessions to the specified partitions. A progress bar shows the progress of the restore process.
Note: You can run most of the 32-bit Windows programs, such as regedit.exe, from the DOS prompt window. Click Utilities, and select Run to open a Windows command line console window.
The Disaster Recovery process is complete.
Note: You can use the keyboard shortcut Shift+ r on the Disaster Recovery wizard to reboot.
When your computer restarts, it is restored to the state it was in at the time of the last full backup.
Important! If the CA ARCserve Backup database is installed on this computer and this computer is not the CA ARCserve Backup primary server, you must run the ARCserve Database Recovery Wizard at this time. For more information about the ARCserve Database Recovery Wizard, see the topic Recover the CA ARCserve Backup Database Using ARCserve Database Recovery Wizard in the CA ARCserve Backup Administration Guide.
Note: To run the Install and Reboot options on the Disaster Recovery wizard while using USB backup devices dialogs, use the following keyboard shortcuts:
| Copyright © 2011 CA. All rights reserved. | Tell Technical Publications how we can improve this information |